Methods for Creating and Processing Pictures for Upload to your Lab Reports
PC:
There are two ways to create pictures for upload from your Excel Spreadsheet.
1) BEST WAY - Use the “snipping tool” that comes with most PCs.
![]()
After “snipping” the picture (Table or Graph) that you want, just save it as a JPEG for upload.
2) Use the “Print Scrn” Key on your keyboard. This will give you a picture of whatever is on your desktop at that moment.
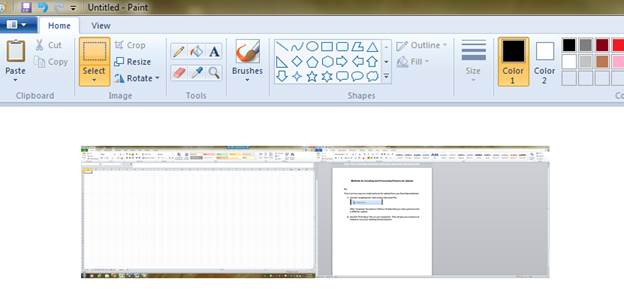
But you don’t want to upload your entire desktop so you need to “clean up” the picture. The easiest way to do this is by using a program called “Paint”.
![]()
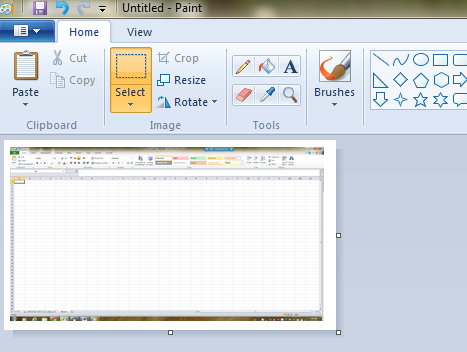
Simply paste the screen shot into the Paint program and use the Select tool to isolate what you want:
Once you select the object you want, copy it and then start a new page within paint. Paste the isolated picture into the new page, adjust the screen so it just outlines your picture and save it as a JPEG.
MAC:
There are several ways to capture pictures from your screen on Macs:
1) Press Command+Shift+4. Your cursor will turn into a small cross-hair reticle.
Click and drag your cursor to highlight the area you'd like to take a picture of. A grayed rectangle should appear where you drag your cursor. If you need to adjust your windows at all, press esc to return to a regular cursor without taking a picture.
Let go of the mouse. You should hear a brief camera shutter noise if your computer's sound is turned on. That signals that your screenshot has been taken.
Find your screenshot on your desktop. It will be saved as a .png file named "screenshot" labeled with the date and time. You can open and resave it as a JPEG.
Earlier versions of OS X will save it as "Picture #"—for example, if it's the 5th screenshot on your desktop it will be labeled as "Picture 5".
Use the screenshot. Once you have taken your screenshots, they are now ready to be used as needed. You can attach them to an email, upload them to the Web, or even drag them straight into an application such as a word processor.
2) Press Command+Shift+3. If your sound is on, your computer should make a brief camera shutter noise. This will take a picture of your entire screen.
Find your screenshot on your desktop. It will be saved as a .png file named "screenshot" labeled with the date and time. You can open and resave it as a JPEG.
3) Press Command+Control+Shift+3. This method works exactly like the one above, except the screenshot does not immediately create a file. Instead, the image is saved to the clipboard, the same temporary storage area where your computer remembers the text that you have copied.
You can also take a portion screenshot with this method usingCommand+Control+Shift+4 and dragging your reticle over the appropriate part of your screen, exactly as the portion screenshot method.
4) Go to Applications > Utilities > Grab. This opens the Grab application. You will see the menus shown in the upper left of your screen, but no windows will open.
Click the Capture menu and choose between the four different options.
When the new window opens, choose Save. You can also choose Save As to give it a different name and/or move it to a more appropriate location, but note that it can only be saved as a .tiff file. Note that the file is not automatically saved.